

This is a very easy modification to carry out, before disconnecting your old stereo make sure you have your radio code as the standard unit is coded.
Locate the four holes on the front of the head unit (circled in yellow below).
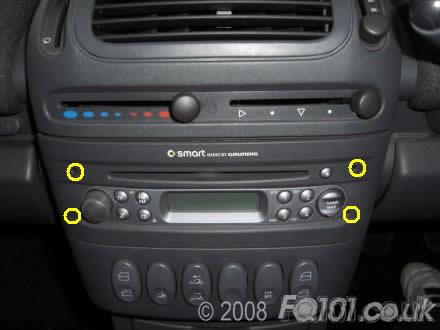
Insert the tools (shown below) into the holes until you feel them 'clip'. If you don't have these tools to hand please see the guide here.
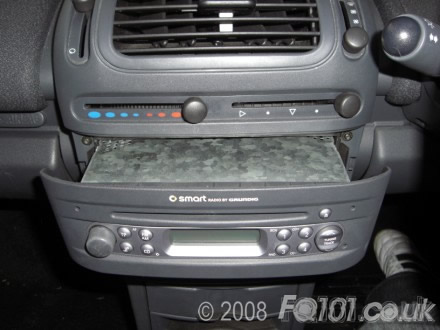
Now the unit is unclipped, slide it forward and out of the dash housing watch you do not snag any of the wiring on the way out.
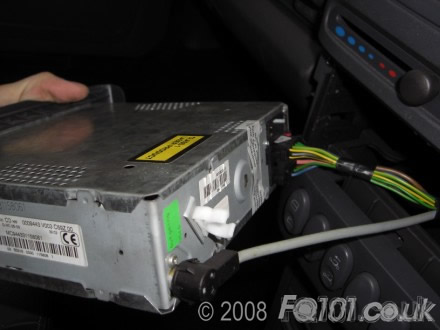
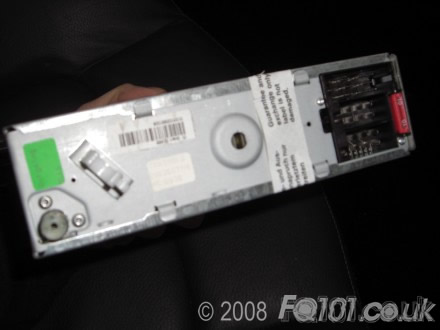
Once free disconnect the wiring from the back of the unit. The ariel just pulls out, while the main loom is clipped in (the next three pictures should give you an idea of how the loom is secured).

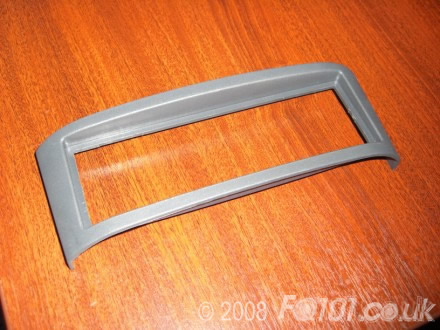
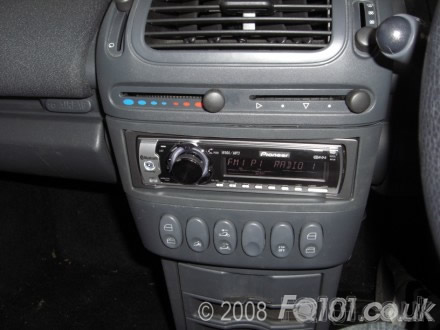
The new stereo will have a smaller front than the old Grundig unit as its a standard fit for pretty much all vehicles on the market.
To get your stereo fitted looking like it should be there you will need a fascia adapter, these are available in Halfords under the part number of FP13-03.
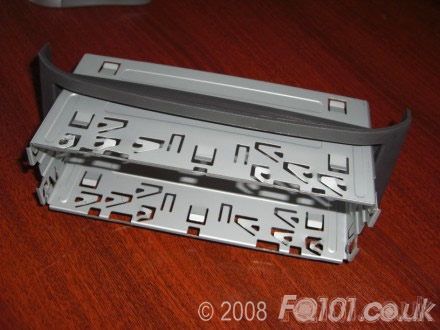
Slide your new head units cage through the fascia adapter (as shown) so it clicks into place.
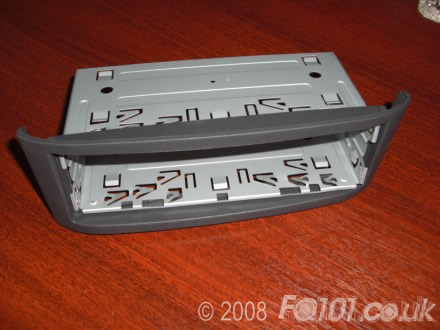
Now the adapter is ready to fit, ensuring it is the right way up slide the cage into the dash.
With a flat blade screwdriver, press the metal tabs of the cage into the dash.
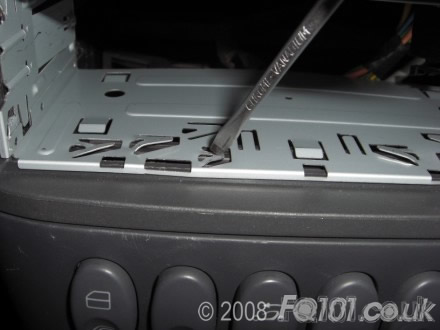
As these cages are universal pressing the clips into the dash you will find that most are not actually used, this is not a problem as long as the cage is secure.
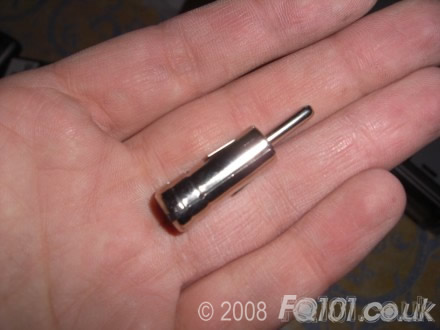
Most aftermarket stereos use a different ariel fitting to the smarts standard fit, you will need an adapter like this to fit.
Connect your new stereo up to the smarts loom, most head units have problems holding their memory as the switched and constant positive as the other way around. Most head units today have the provision to swap the leads around the other way to cure this memory issue.
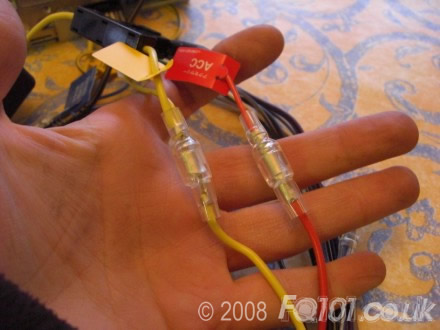
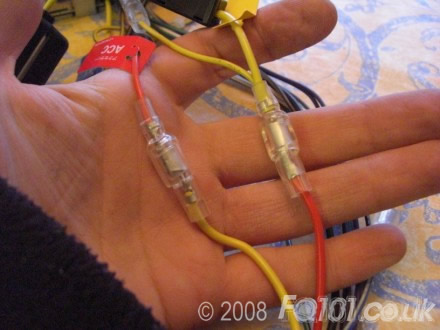
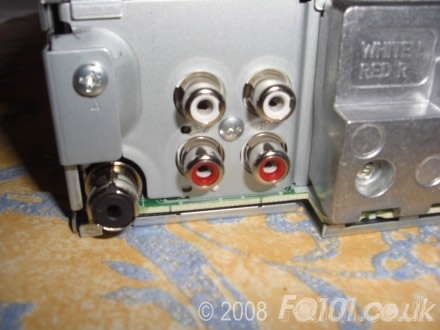
The first picture shows how the new stereo will come 'out the box'. The second shows how the head unit should be wired for the smart.
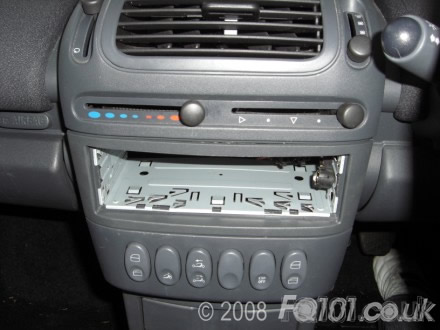
Test the unit before refitting to ensure its all connected correctly, once you are satisfied everything is as it should be insert the new head unit back into the dash housing and push back until you feel it 'click'.
Most head units come with a small piece of trim to cover the sides slightly, these just clip on.


