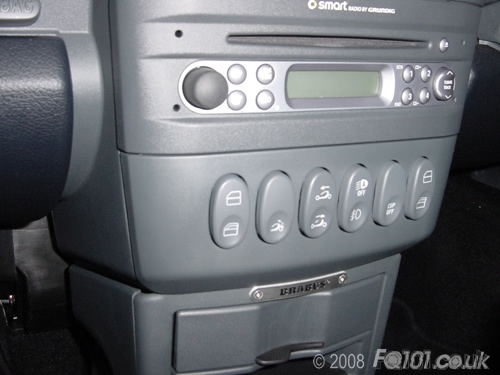
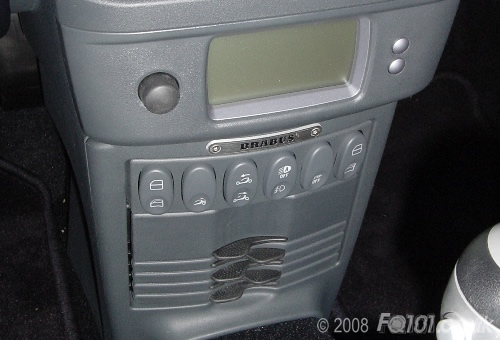
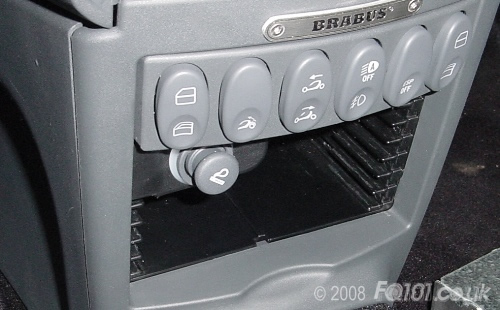
For high level buttons below the radio:
To remove the buttons section, first remove the radio using the removal clips. If you don't have these to hand, use alternative radio removal clips.
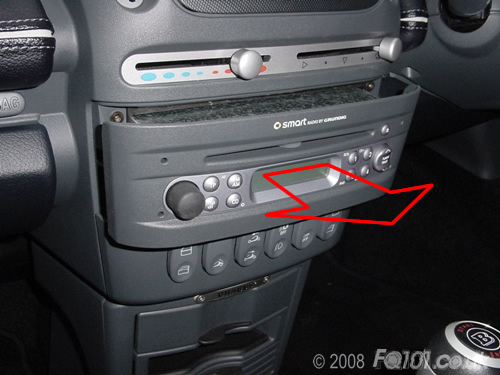
If you have an aftermarket radio, you can get around this by pulling the frame off around the buttons. This is a bit fiddly which is why ideally, it is easier to remove the radio first as you can get to the retaining clips.
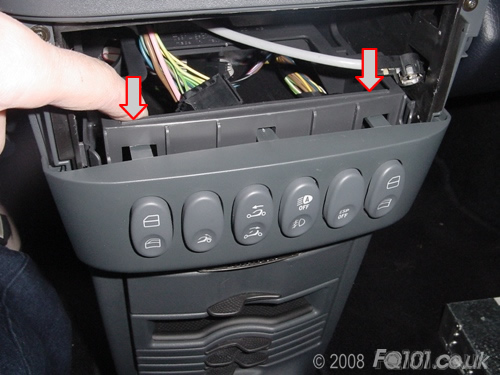
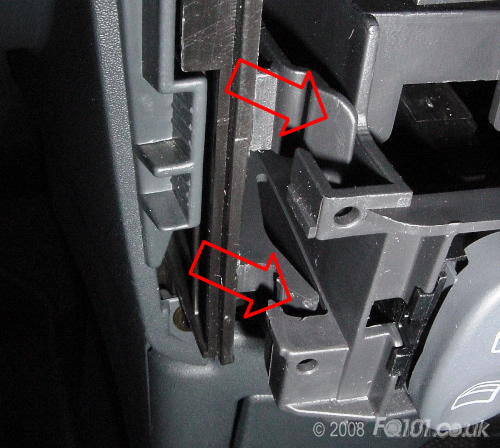
The button frame is held in place at the sides by clips which need to be pushed in order to release.
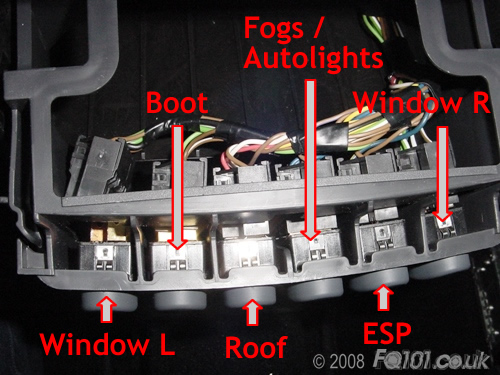
You can now unplug all the connectors ensuring you note which ones are connected to which button.
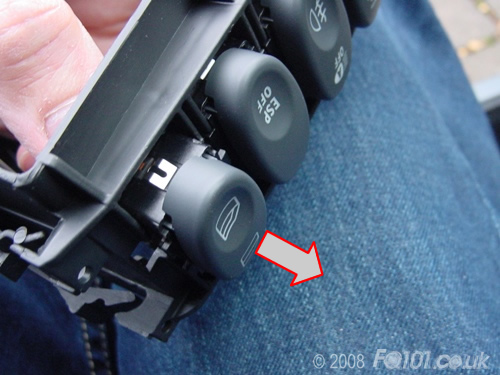
Once disconnected, the buttons simply push out of the frame.
For low level buttons:
To remove the buttons section, you first need to remove the accessories below the buttons. See here for some useful information.
Pull the button section free and remove the grey front bezel.
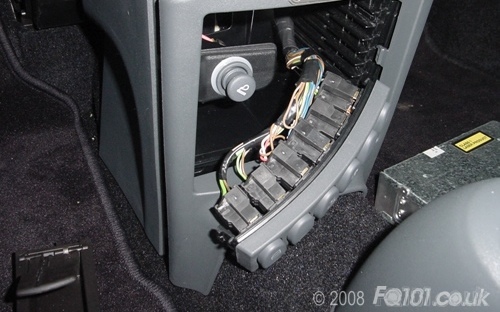
You can now unplug all the connectors ensuring you note which ones are connected to which button. Once disconnected, the buttons simply push out of the frame.
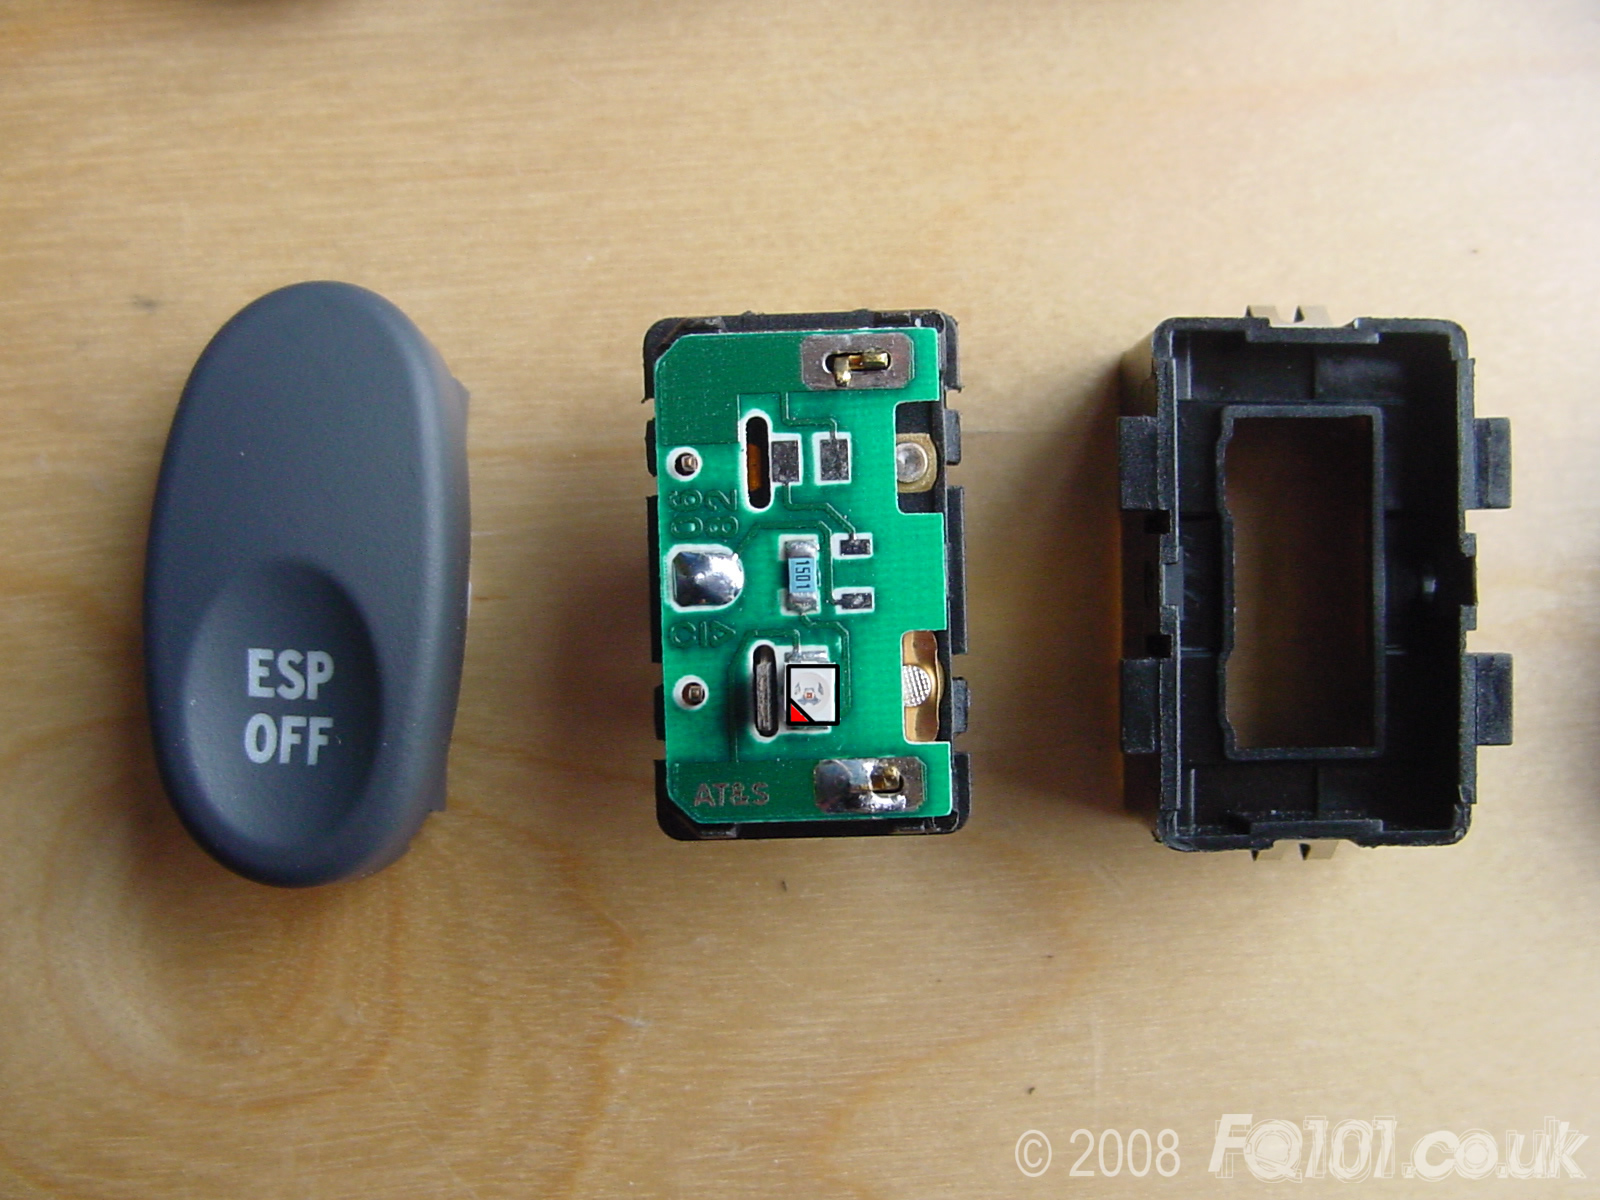
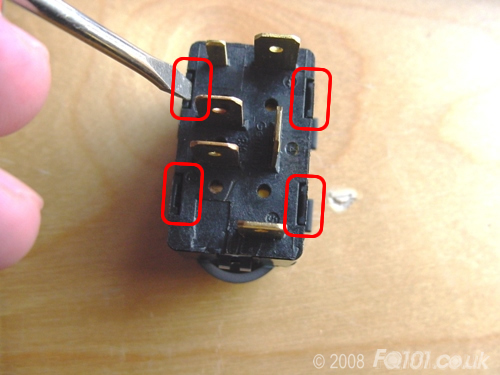
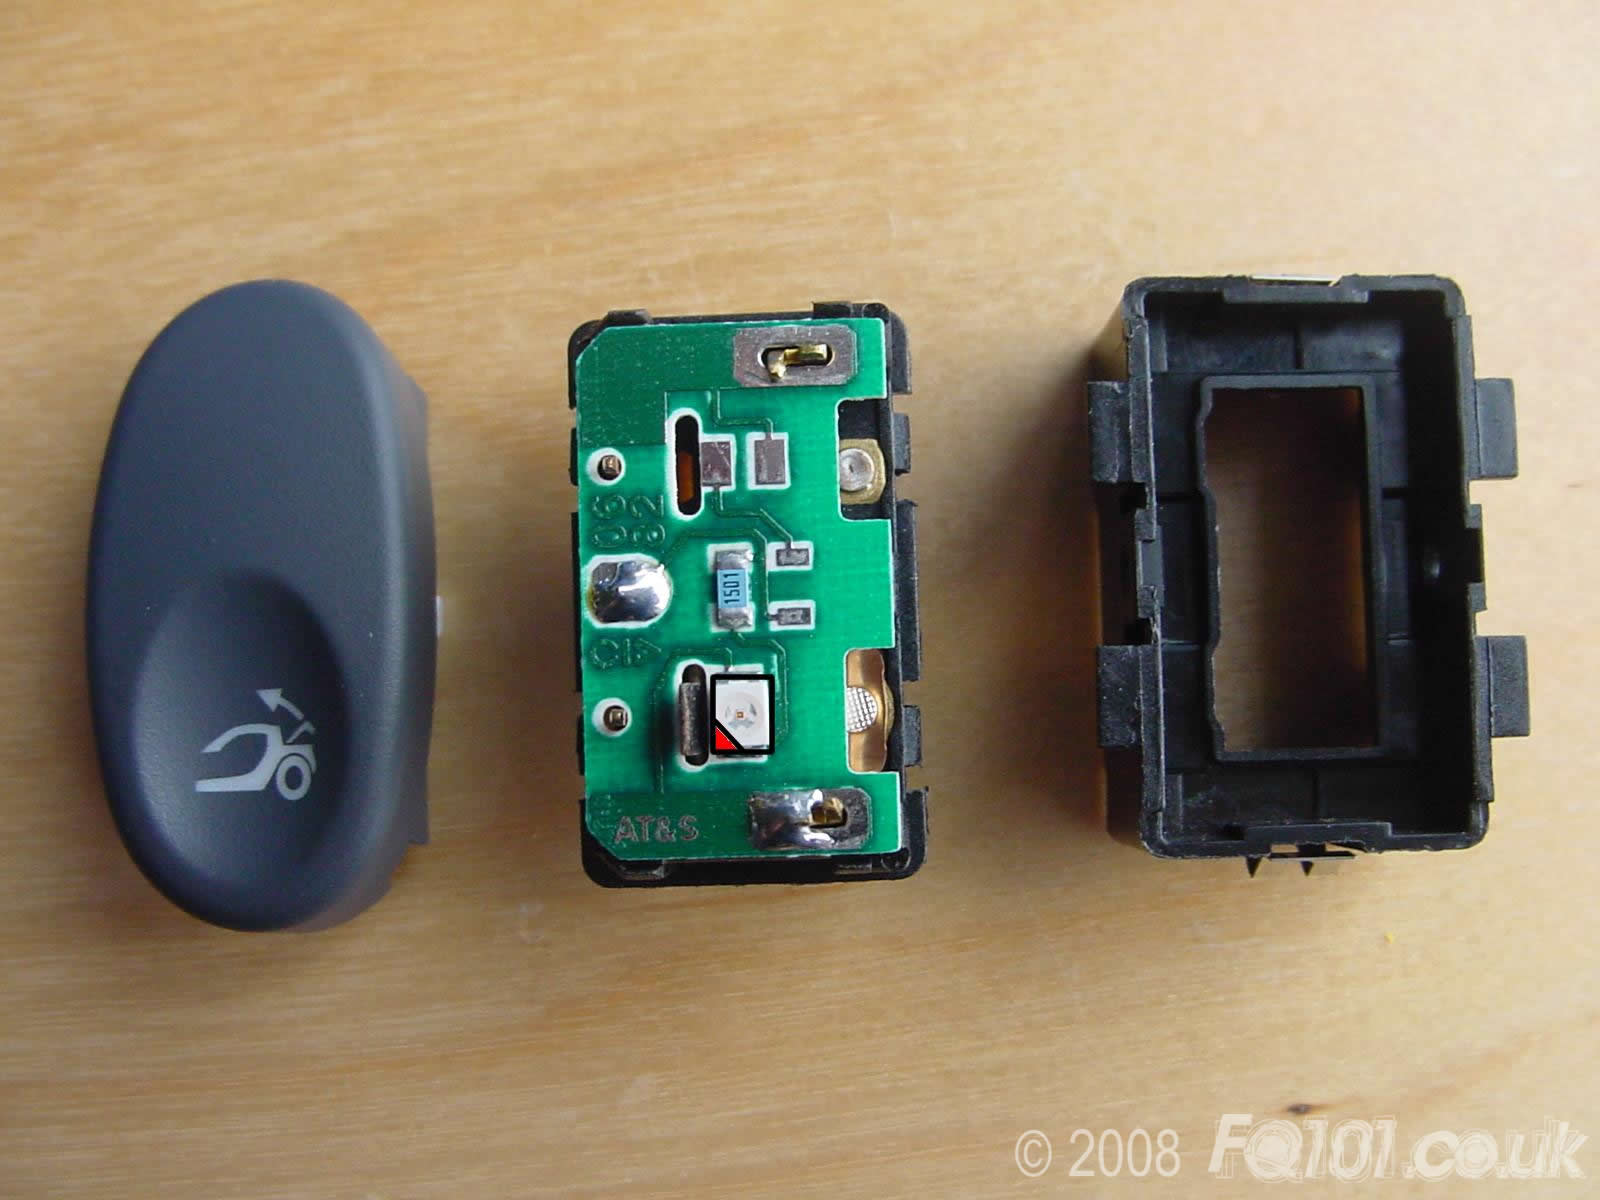
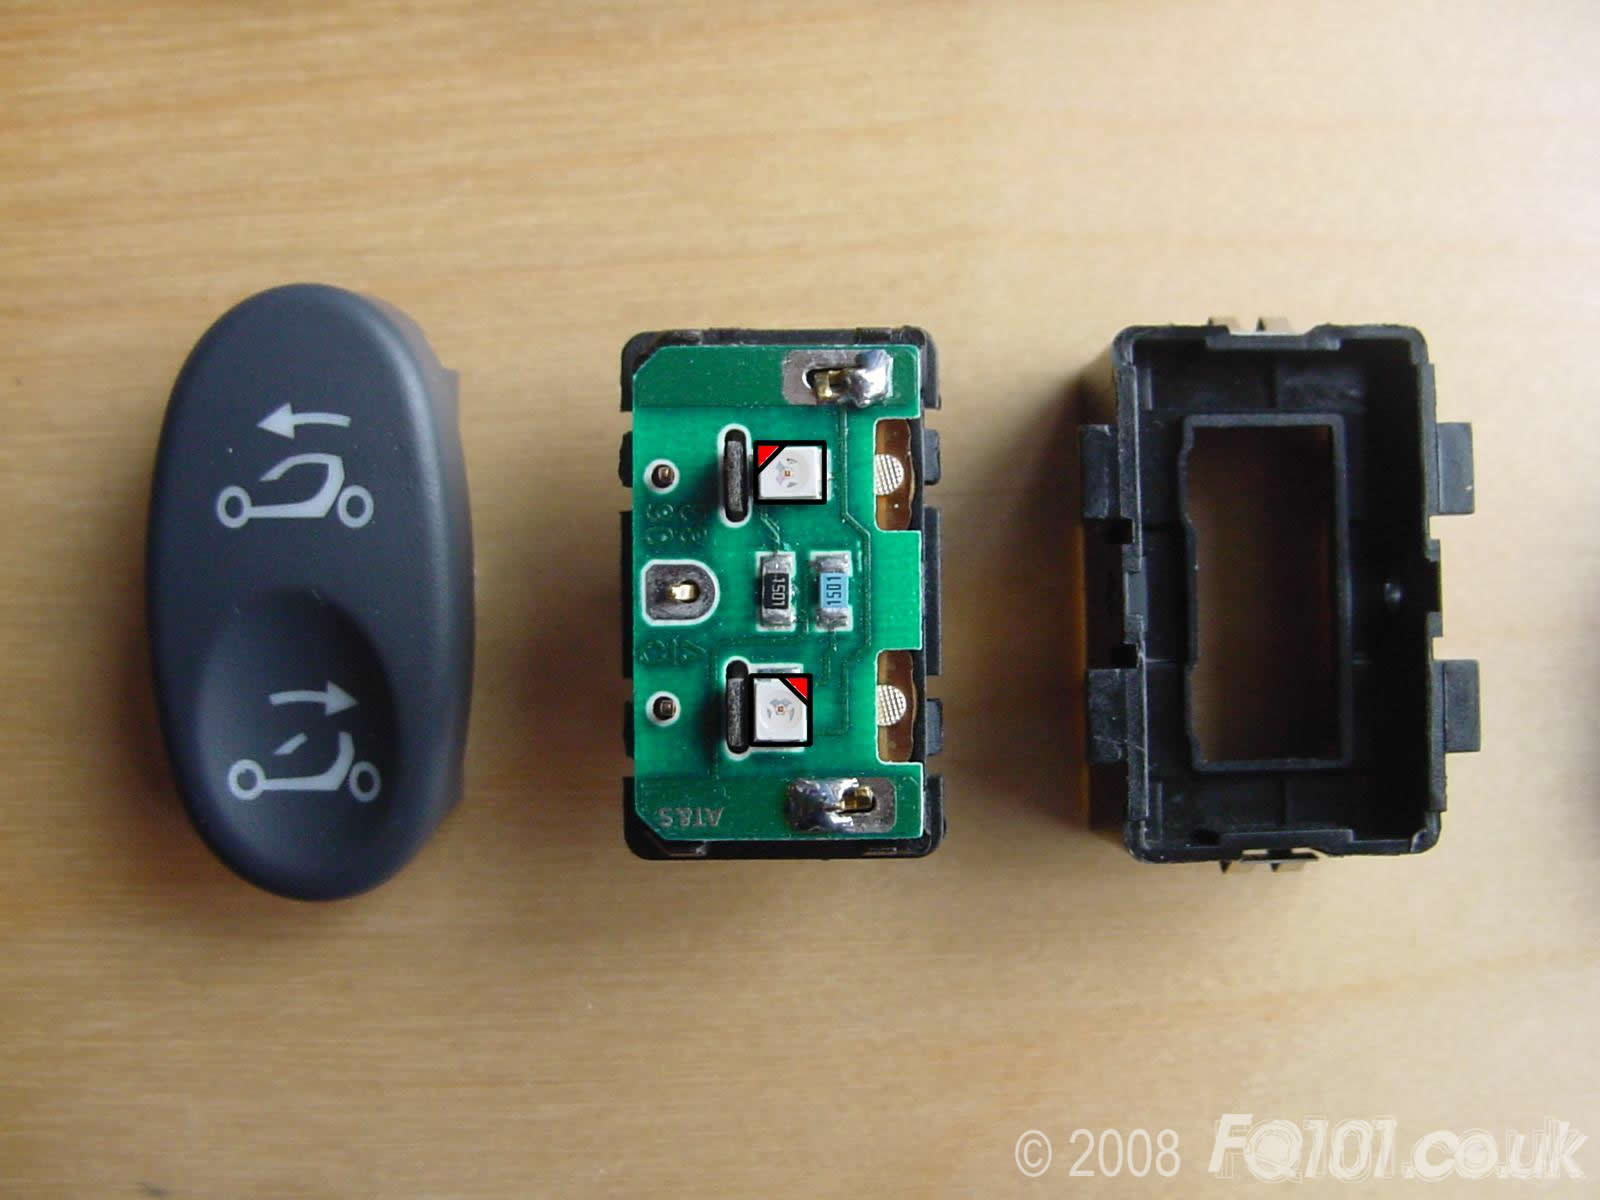
To access the PCB, turn the button over and dismantle it by levering it where shown.
Take the PCB and begin your LED changes.
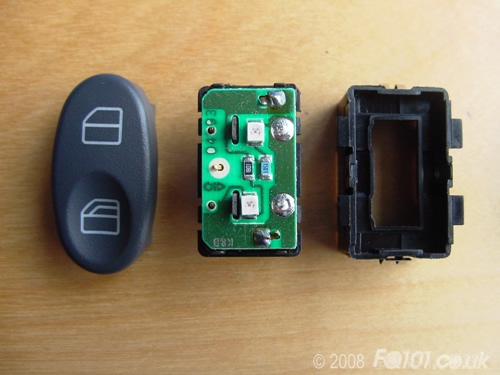
Click on the pictures below to make larger. LED orientation is shown with a triangle pointing to the cut-out on the negative side of the LED. Observe correct polarity when soldering.
Window Buttons:

Boot Release:
Soft Top Control (selected models only):
Auto-headlights and front fog lights (selected models only):

ESP Off: