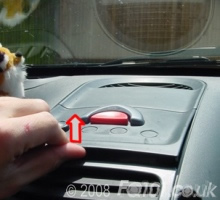
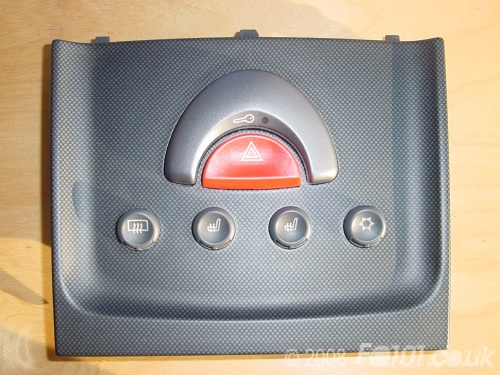
Before replacing the LEDs, the safety triangle needs to be dismantled. Lever the front of the triangle from the centre console in order to free it and unplug the wiring on the back.
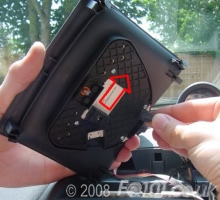
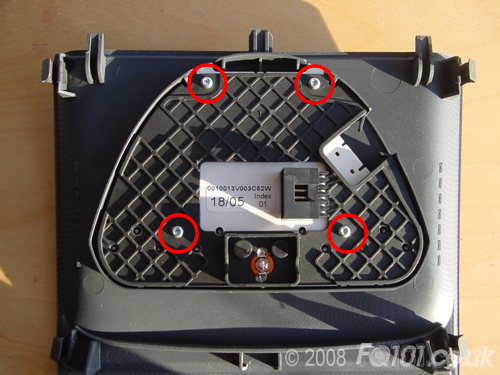
The triangle is held together with four T8 Torx bits. Undo these and keep them in a safe place.
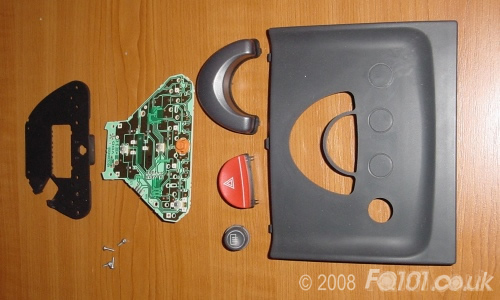
Separate the back plate, PCB and front plate.
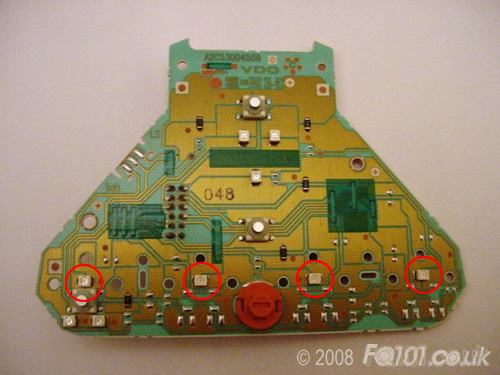
Take the PCB and begin your LED changes. At the same time as this, you may choose to upgrade the switch backlight.
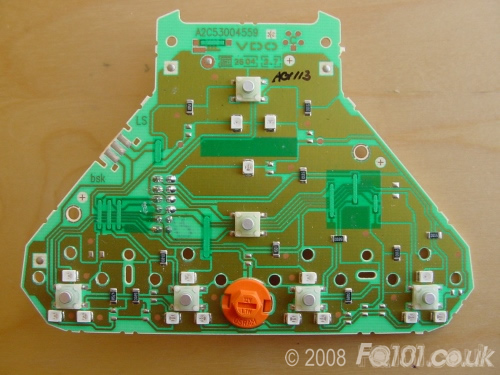
The following layout is for a four button triangle. For single and two button triangles, see bottom of page.
Click on the picture to make larger. LED orientation is shown with a triangle pointing to the cut-out on the negative side of the LED. Observe correct polarity when soldering.

| No. | Type | OEM Colour | Function |
|---|---|---|---|
| 1 | PLCC-2 | Warm White | Key Icon |
| 2 | PLCC-2 | Red | Car lock status |
| 3 | PLCC-2 | Red | Hazard light button |
| 4 | PLCC-2 | Warm White | Button backlights |
| 5 | PLCC-2 | Orange | Rear window heater status |
| 6 | PLCC-2 | Red | Heated seats low temp status |
| 7 | PLCC-2 | Red | Heated seats high temp status |
| 8 | PLCC-2 | Red | Aircon low power status |
| 9 | PLCC-2 | Red | Aircon high power status |
| 10 | 509T | Warm White | Sliders backlight |
Note: Single and two button triangles still require 4 backlight LEDs even though some positions are redundant. You will need to replace these as well to ensure correct voltage across all LEDs.