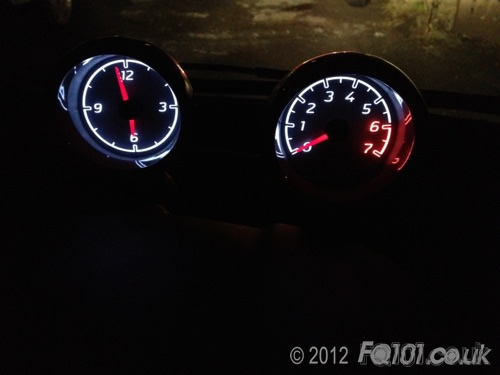
LEDs needed for needle backlight: 2x PLCC-2 SMDs
LEDs needed for dial face backlight: 4x PLCC-2 SMDs.
To access the pod LEDs, we recommend removing the pods from the car. It is possible to work with them in situ, but it's not easy. To remove the pods, some information on this guide may be of use.
With the pods out of the car, remove the colours trim by gently pulling them off. Be careful not to twist them or you might break some of the clips.
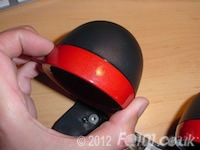
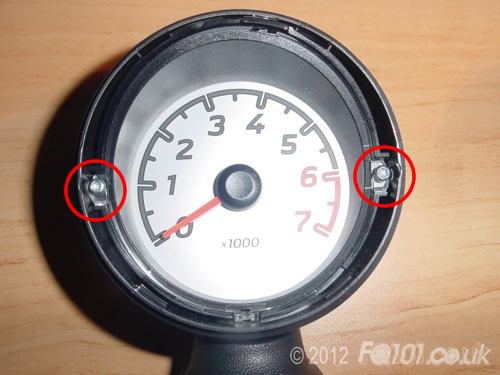
With the trims removed, unscrew the two TX8 screws that hold the pod together.
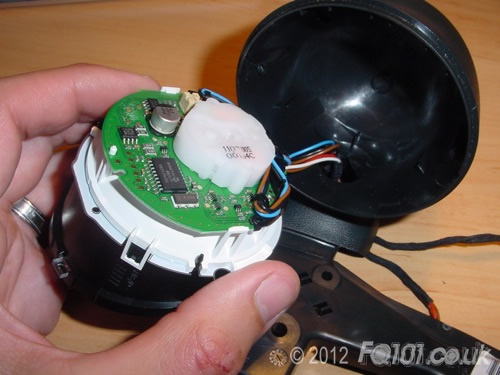
Pull the internals of the pod forward.
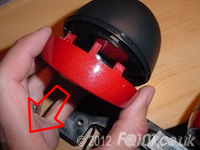
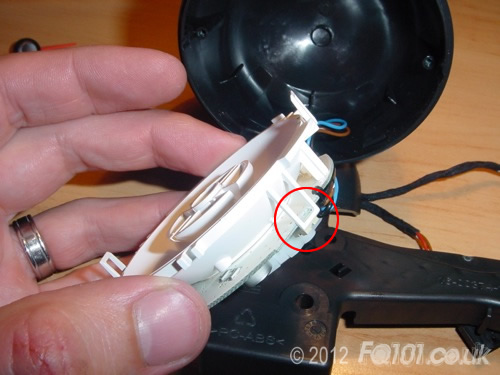
The front black section is held on with two clips. One is circled below, the other is on the other side of the pod.
With the front removed, you can access the needles. Remove this by holding the black centre and pulling. Be careful not to scratch the dial face with your nails. Twisting the needle slightly may help as well. If the black centre comes away from the needle, don't worry, this will clip back on.
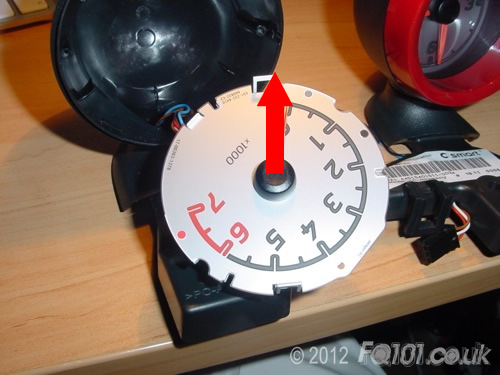
With the needle off, the dial face will lift off.
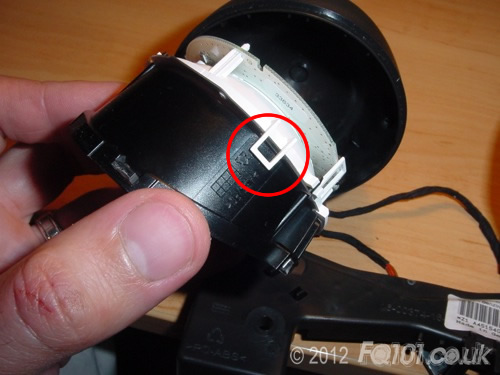
The back section of the pod clips to the PCB as shown. Again, there is another tab on the other side of the pod.
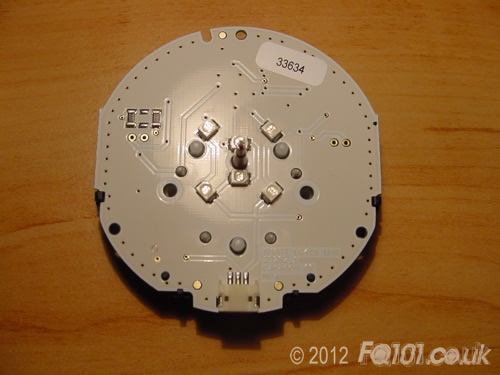
You can remove the PCB from the frame by unravelling the wiring and unplugging it. The connection location is indicated below.
Take the PCB and begin your LED changes.
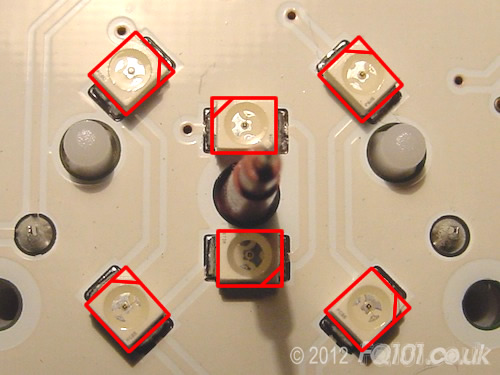
LED orientation is shown as follows. The outer 4 LEDs are the backlights to the dial face. The inner two LEDs are for the needle.
Once you have changed your LED, test and reassemble! When fitting the needles, do the following:
- Rev Counter: Fit the needle around the '2' mark. It should rotate clockwise easily but not the other way. Carefully twist the needle down to '0' with some gentle force. This will be reset to the '0' position.
- Clock: fit both needles at the 12:00 position. Push the needles on so that they are firmly held but not so they get trapped on the dial face.
In the following, we changed the dial face backlights to white but left the needle backlights as red.


