LEDs needed for LCD backlight: 6x PLCC-4 (PLCC-2 will work) SMDs
LEDs needed for all other functions: 24x 0805 SMDs.
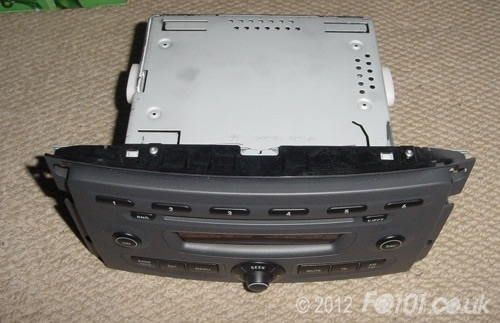
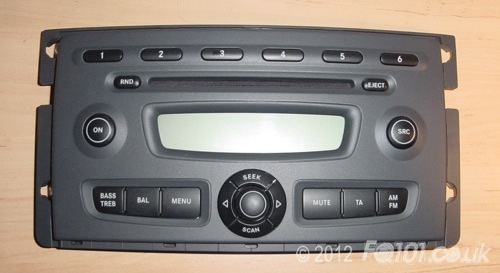
To access the radio LEDs, you need to remove the radio from the car. To do this, use this guide.
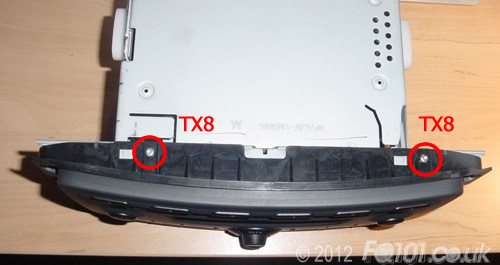
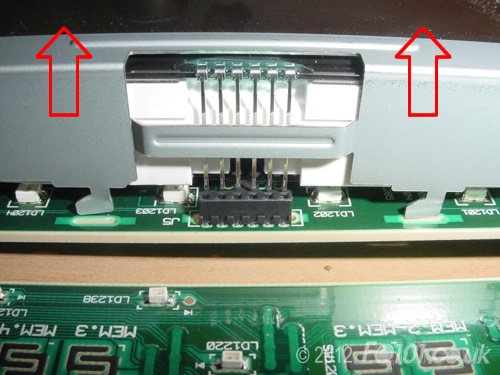
The black fascia is held in place by 4 TX8 screws. Two of these are on the top edge (circled below) and the other two are on the bottom.
The facia will come away from the main body of the radio. Unplug the ribbon cable from the back of the PCB.
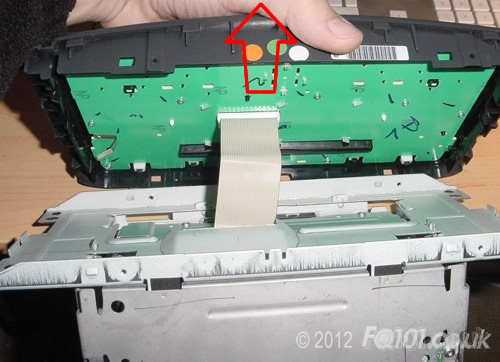
The front fascia will now be free.
Turn the fascia over and undo all retaining TX6 screws that are circled below:
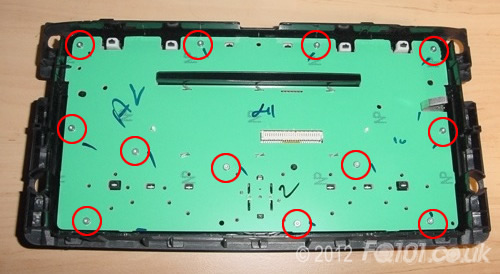
The PCB will now be free. Be careful that you don't dislodge the buttons from the rest of the black fascia.
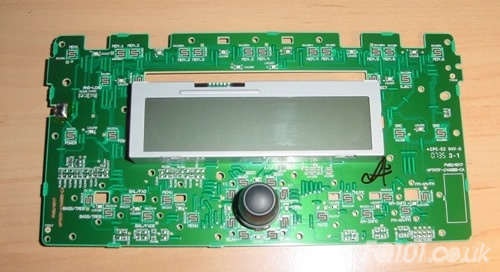
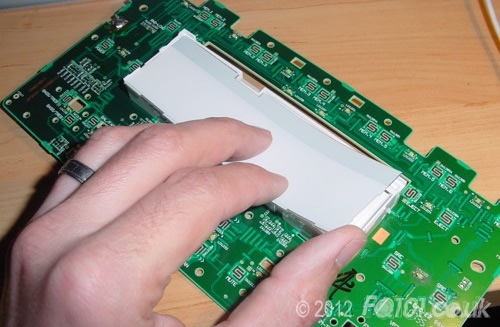
To access the LCD backlights, you need to remove the screen. On the back of the PCB, you will see that the aluminium frame is held in place with twist catches. Turn these by hand (or with some small pliers) and the frame will be free.
Lift the frame away from the screen as shown. You can see the twist catches at the bottom of the frame.
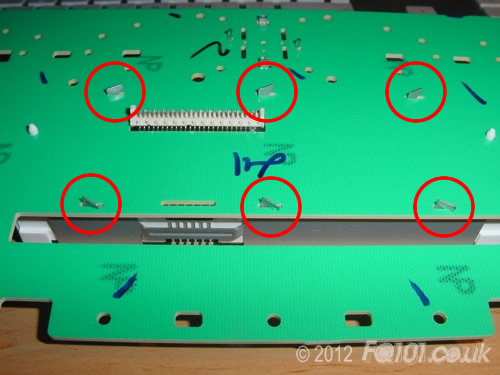
Now remove the screen by lifting it off. Carefully pull the contact pins out of the connector, circled below:
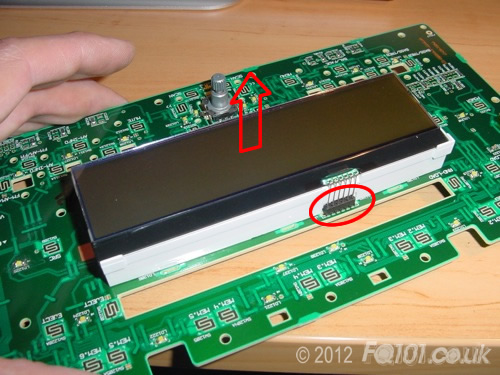
There is a translucent sheet under the screen which will simply lift off.
The backing frame is clipped in the PCB but will come away easily.
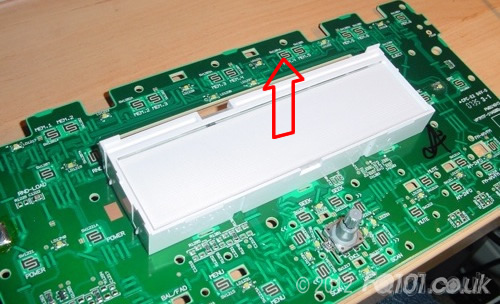
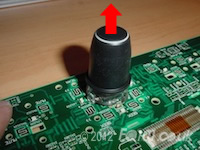
Remove the button by pulling it firmly in the direction shown. You don't need to remember the position it was in.
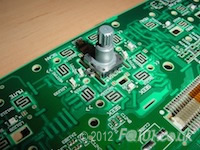
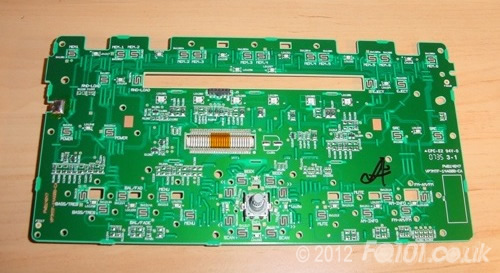
The PCB is now ready to start tackling the LEDs.
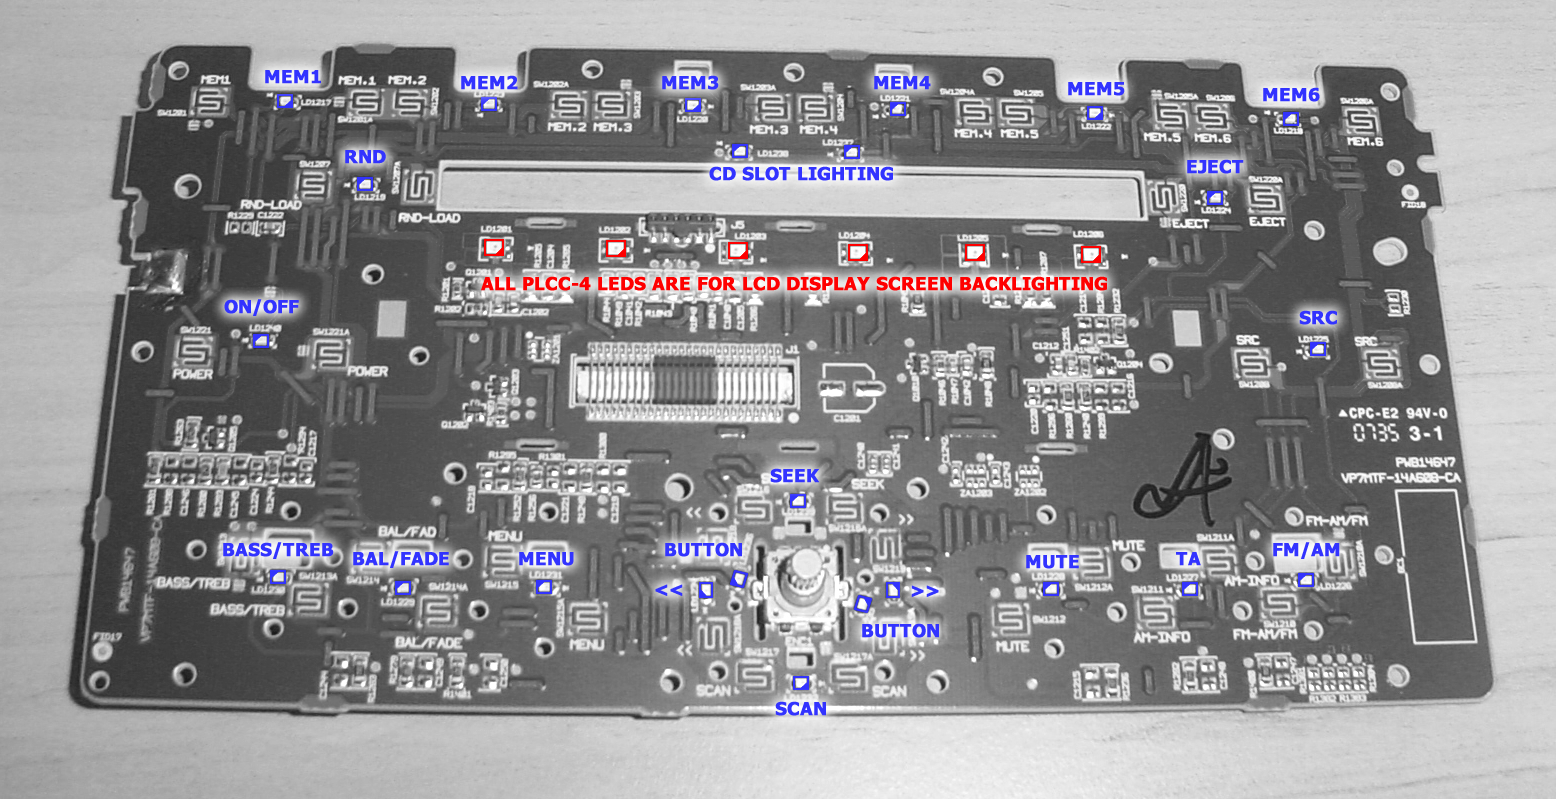
Click to make the following picture larger. All LEDs shown in red are PLCC-4 as standard. All LEDs shown in blue are 0805 LEDs.
You can use PLCC-2 LEDs for the LCD backlight. However, you need to position them at 90degrees and positioned on only two pads as follows:

Here are the PLCC-2 LEDs in place:
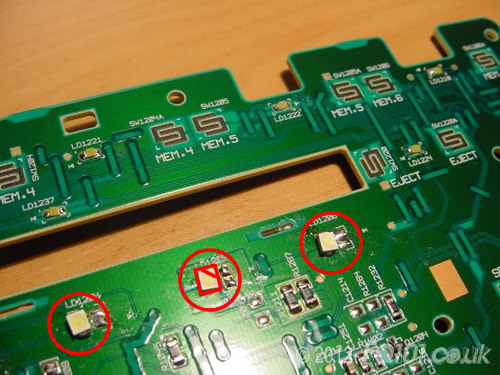
And finally, here are the 0805 SMD LEDs clustered around the volume control potentiometer. What's handy about this PCB is that the diode orientation is shown next to the LED position so you don't really need to look at the above picture while you are fitting the LEDs.

After you have fitted all your LEDs, test and reassemble!
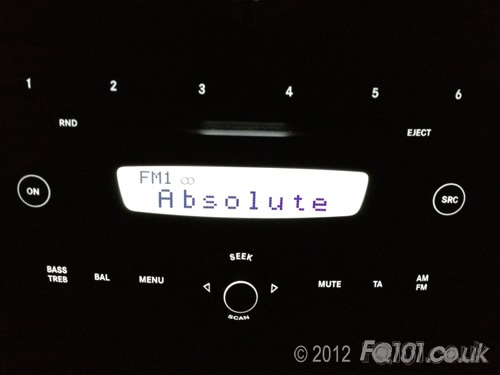
In the example below, we changed the backlights to white. We think this looks much 'cleaner' than the OEM lights. As a suggestion, try experimenting with different colours for different functions to create very individual effects.