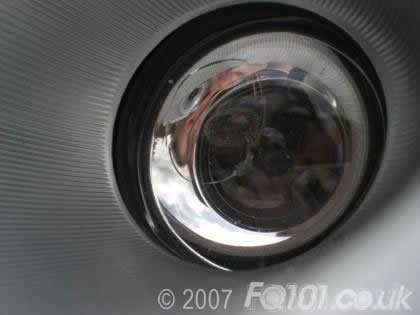
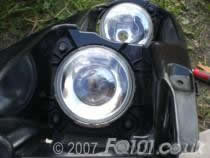
It is not uncommon for the roadsters to suffer from smashed lights due to fact they sit low to the ground.
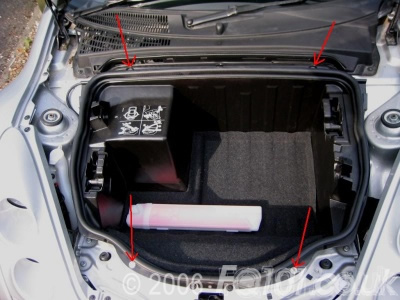
First step is to remove the bonnet bin to allow you more access.
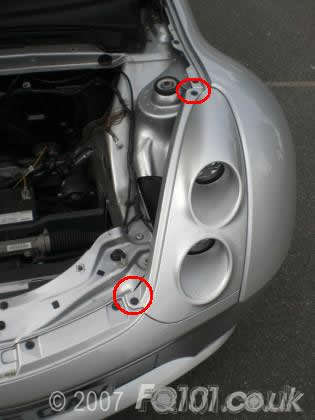
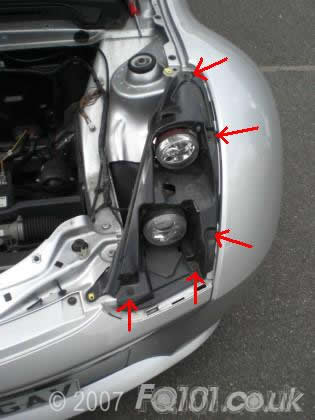
Remove the cowling - it is secured by two T25 torx screws.
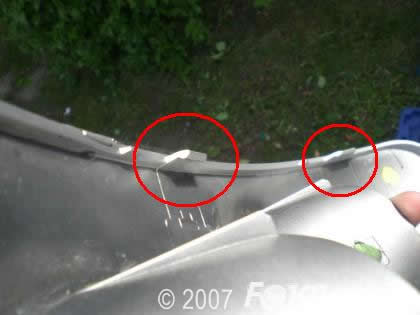
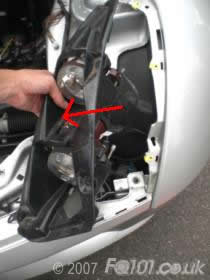
Then you need to carefully pull the cowl forward until the lugs pop out. They do require a bit of force and feel like they're going to snap.
Now remove the main headlamp housing, held on with five T25 torx screws.
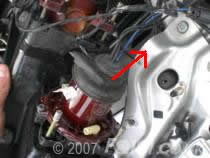
You can remove the bulbs at this stage to allow you to swap the lamp off the car.
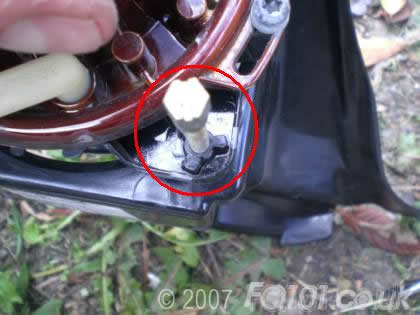
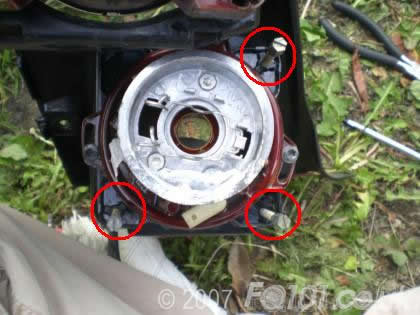
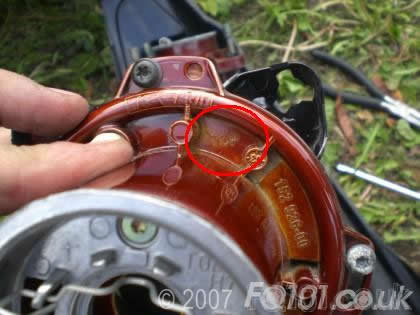
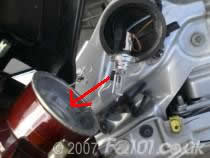
Looking at the back of the housing, you can see the three adjuster screws on each lamp, at the point where the adjuster goes 'through' the lamp, it is attached with a little three-pronged catch.
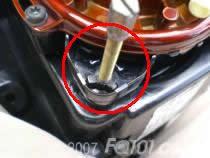
You need to use pliers (or similar) to grip these and twist them anti-clockwise to release.
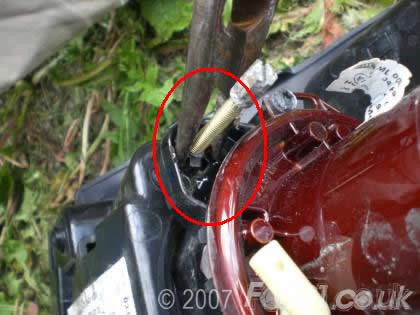
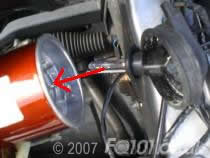
You are aiming to line up the three prongs with the gaps.
Line up all three retaining lugs.
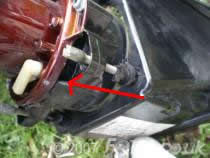
Now you can lift the lamp off the housing, leaving the adjuster screws in-situ.
Take your new lamp noting the orientation, it is labelled 'TOP'.
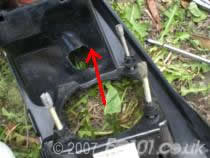
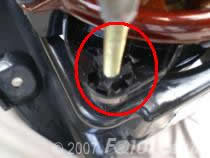
Feed the adjuster screws back through the three-pronged holes. Note: you may need to bend the top adjuster slightly just to get the angle.
The adjuster screw is on a soft plastic bushing, so once located through the hole, it will spring back into place.

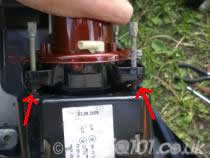
Push the lamp down so the three-prongs poke up through the lamp.
Then you can turn them clockwise to hold it in place.
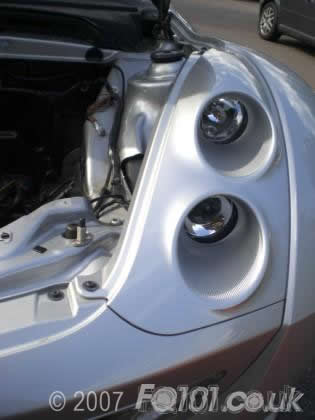
Check that all are seated correctly, and the lamp appears even.
Fit both the bulbs back into place.
Refit the housing back to the car with the five T25 screws, then refit the cowl (tip: a little dab of grease on the tabs may aid removal in the future).
Finally re-fit the bonnet bin.