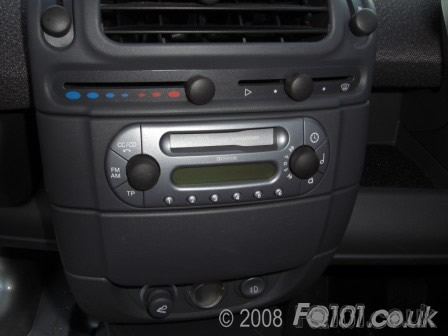
If your car is fitted with a CD player or Nav unit then the chip is already fitted. It's only the radio and tape units that this guide applies to.
Before doing anything, ensure you have the code for the stereo as they are all coded from the factory.
If you car came with the sound upgrade from the factory you may find that smart may have been lazy and left the activation chip in the drawer, sadly we're not kidding.

To install the upgrade chip removal of the stereo is required.
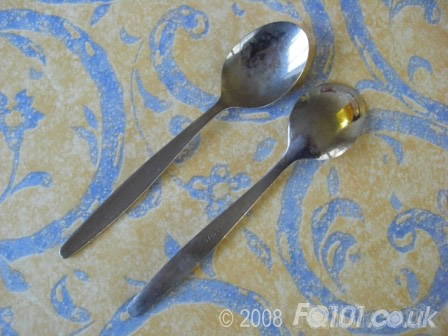
To do this you can buy the correct 'clip' tools from places like Halfords. However tea spoons work perfectly well.
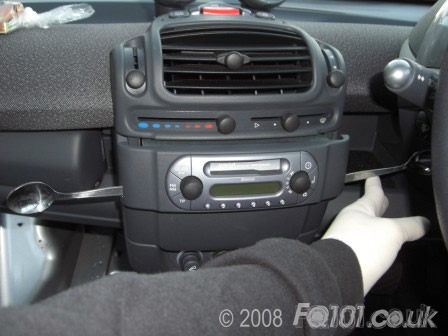
Slide the handles into the slots shown, you will feel the stereo release.
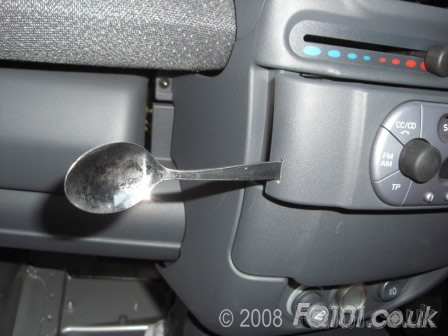
Pull the spoons or clips towards you to completely remove the unit. Carefully unplug all the wiring and aerial feeds.
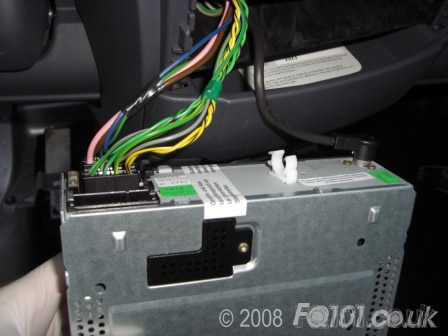
Using a Torx T10 screw driver, undo the screw securing the access panel on the top of the head unit and lift off.
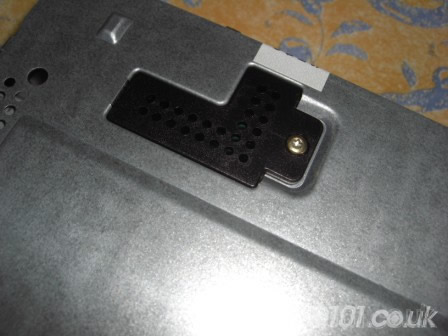
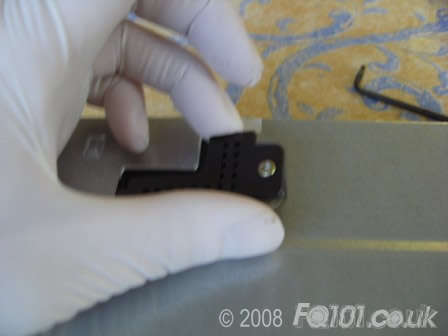
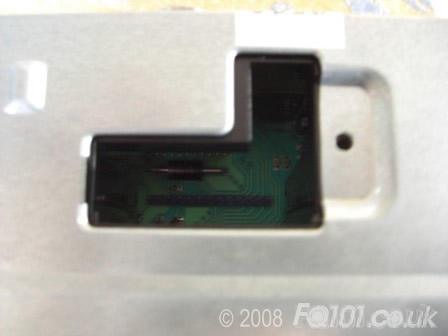
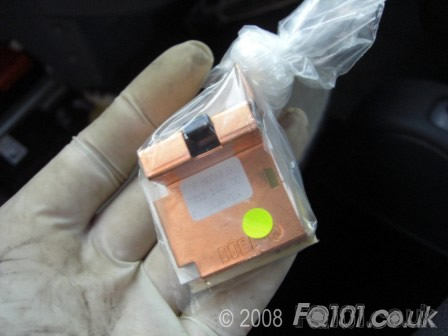
Remove the chip from its packaging and line up how it will be sitting within the head unit.
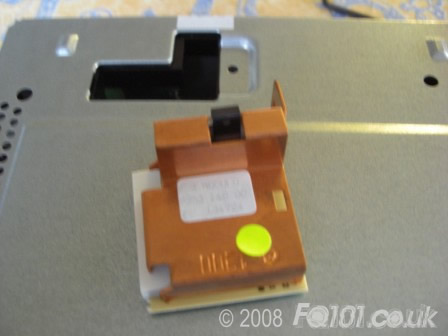
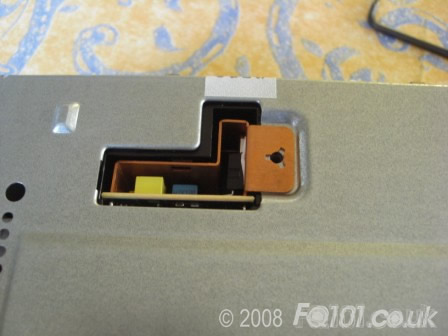
Carefully press the clip into place ensuring you do not bend or damage any of the pins in the process.
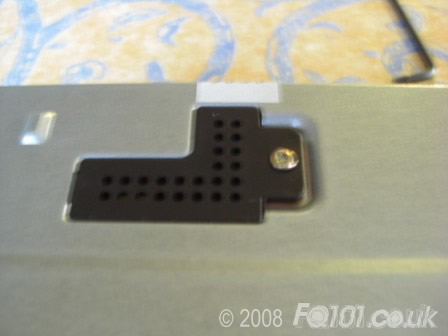
Replace the access panel cover and screw the screw through the new chip mount.
Replace the stereo in the reverse of removal, enter the code and test the stereo.
Turn off the unit. Press and hold the music icon while turning the unit back on to toggle the upgrade menu. You should see "SOUND ON" on the screen. To turn it off, repeat the procedure.