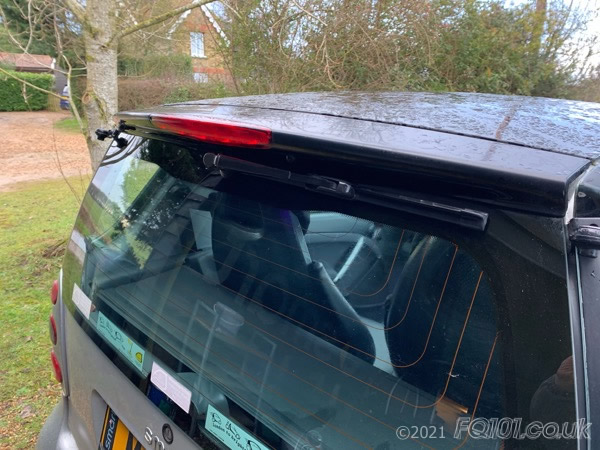
If you notice your rear wiper move slowly eractically or stop moving altogether, the wiper motor mecahnism may have failed. Over time, the shaft which attaches to the wiper arm starts to corrode causing the mechanism not to run smoothly anymore. If this persists, the motor will eventually burn out.
Before you order your new motor, it is worth checking to see that there isn't an electrical issue first. Try operating the rear wiper - if you can hear the relay clicking then a new motor is required.
The part number for the wipre motor assembly is: Q000 0614 V013 0000 00.
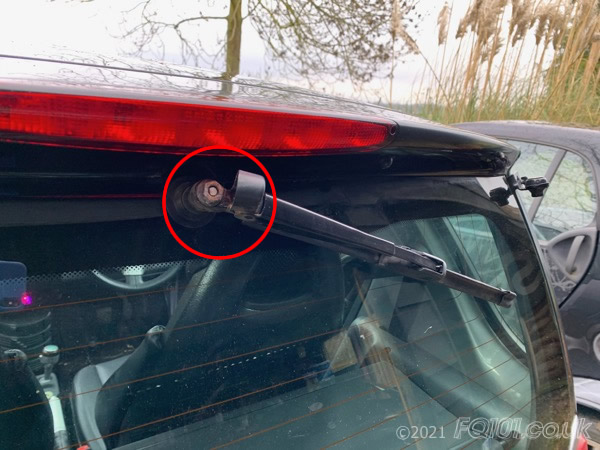
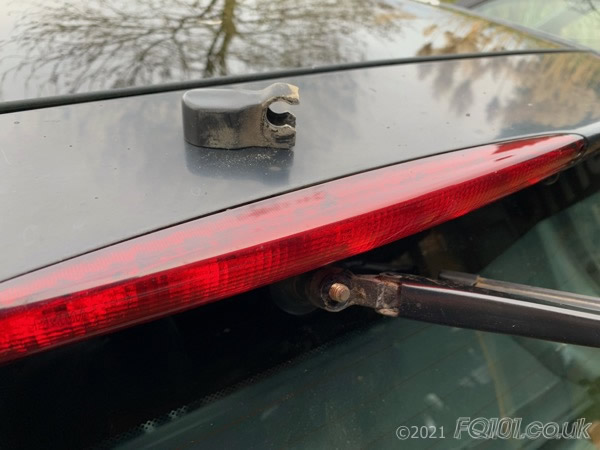
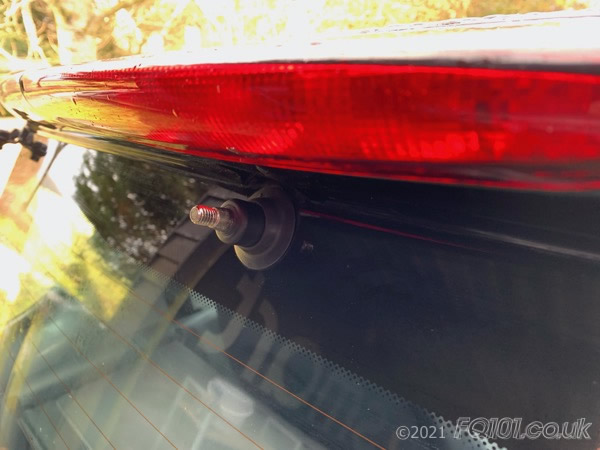
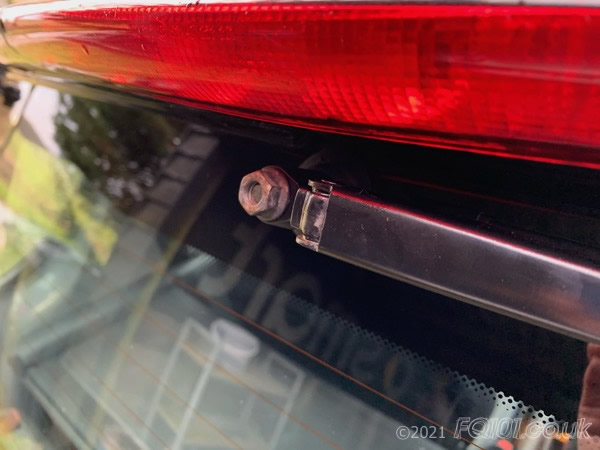
Start by lifting up the plastic cover cap to reveal the wiper arm mounting nut. Use a 13mm socket to release the nut.
Try to remove the wiper arm using a wiper puller tool. You can remove the plastic cover trim to give you more access if required. This carefully unhooks from the wiper arm.
If the wiper arm is stuck firm, try spraying the area with WD40 or penetrating oil to help release it. Continue with the next stage while you allow this to soak in.
To access the motor assembly, you need to remove the inner trim from the rear glass panel. Access to some parts are a bit tight and be careful not to damage your roof (especially if you have a glass roof).
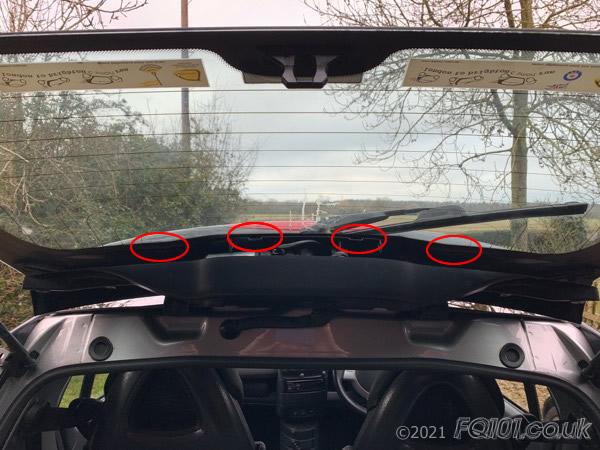
The inner trim is held in place with 4x T25 screws (circled) and 7 clips (indicated with arrows). These are in the locations shown:
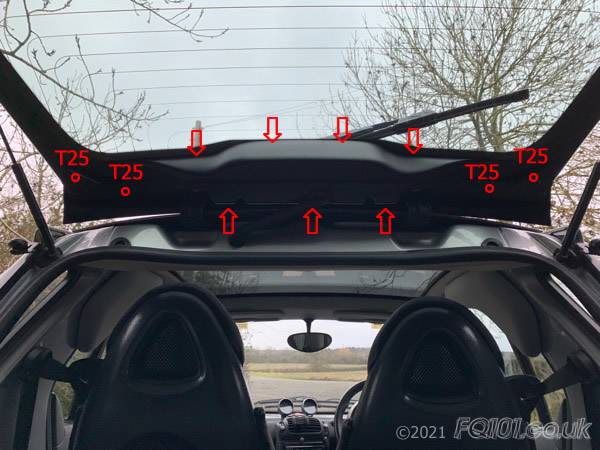
Start by removing the T25 screws - 2 on either side:

The three clips closest to the hinges need to be carefully levered in the direction shown. This will release them from a retaining tab and the trim will spring forward slightly.
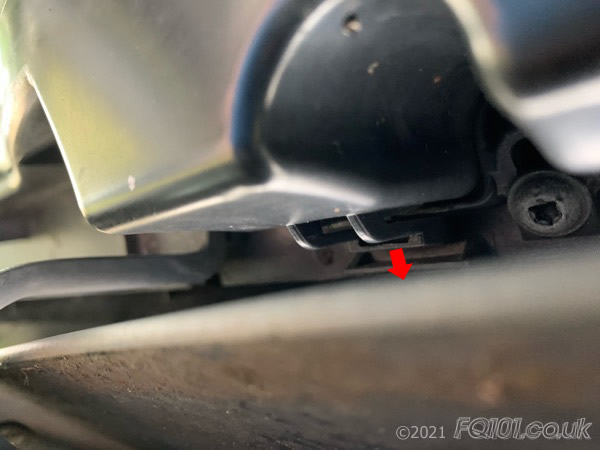
To release the tabs, we used a large flatblade screwdriver to carefully level the tab by a few millimeters.
Release all 3 tabs. Note there is one behing the flexible cable duct.
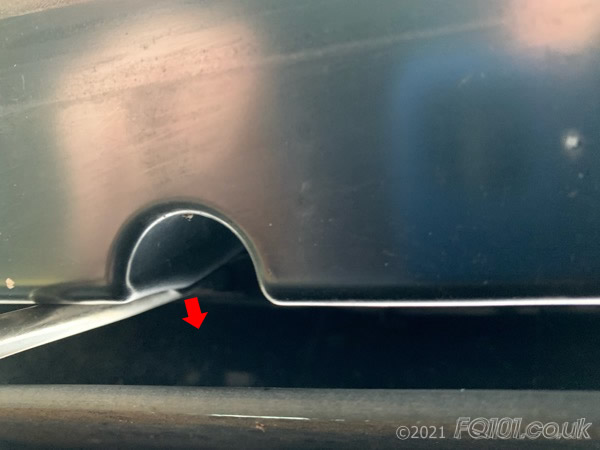
The clips along the top edge a a bit harder to release. After releasing the other clips, there will be a bit more movement in the trim panel to carefully unhook the trim from the retaining tabs.
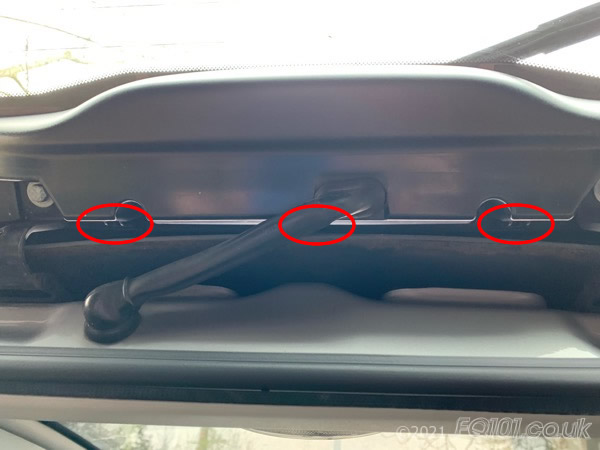
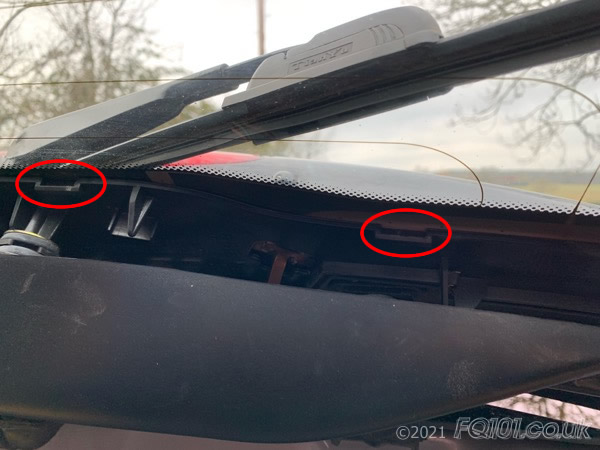
Close up of retaining tabs which the trim panel needs to unclip from:
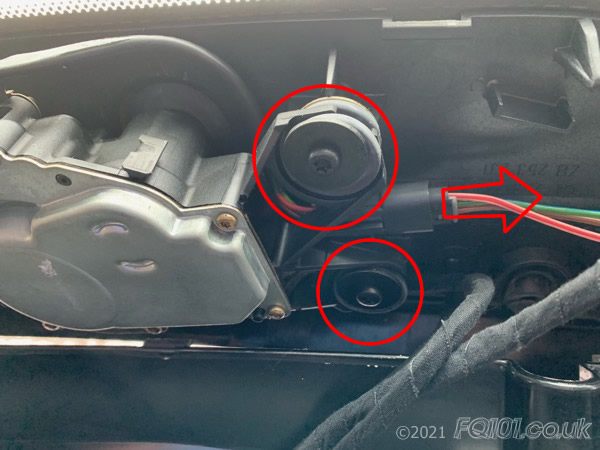
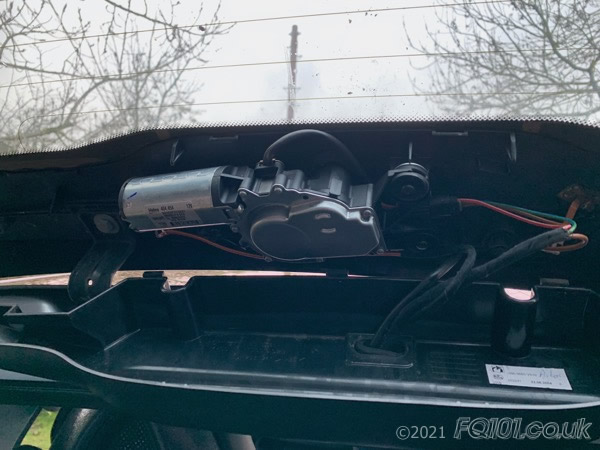
With the trim panel removed, remove the wiring from the motor (remember to hold down the retaining tab first) and remove all 3 retaining T25 screws. Two screws are shown in the following picture, the third is at the other end of the assembly.
Note - if you haven't removed the wiper arm, do this first!
Carefully pull the wiper motor awat from the glass and through the rubber grommet.
Remove your old wiper motor and unpack the replacement.
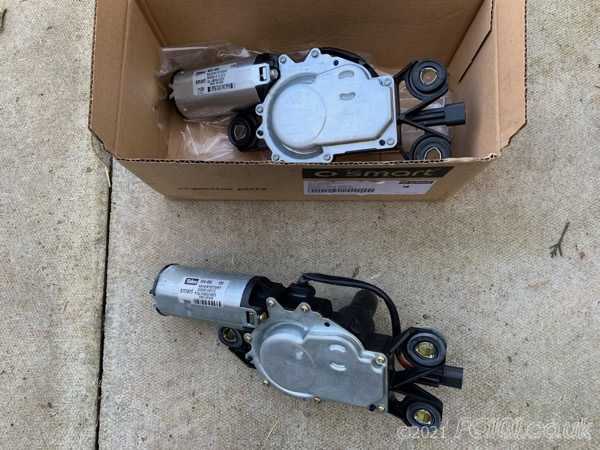
Fit the new motor and secure with the 3 T25 screws. Plug in the wiring.
With the motor firmly attached, operate the rear motor and allow it to complete a fill cycle. Switch off the wiper function and turn off the car.

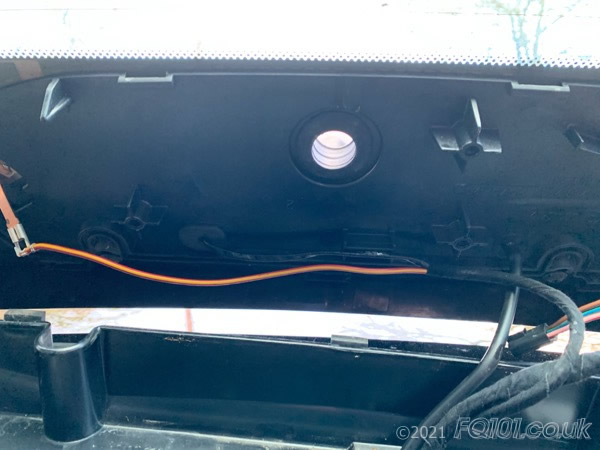
By operating the wiper motor before refitting the wiper arm, the motor will now be in the correct 'park' position:
We recommend giving the wiper arm a good clean as well as oiling the hinge before refitting.
Carefully fit the wiper arm in the horizontal position without applying any rotational force to the wiper motor. Secure the wiper arm with the 13mm hex nut. Hold the wiper arm whilst you tighten it.
Fit the plastic cover cap over the wiper arm nut to complete the wiper motor replacement. Test the wiper a couple of times to make sure that the wiper arm doesn't strike the rear spoiler at any point in its cycle. If it does, remove the wiper arm and reposition accordingly.